1. 克隆仓库
git clone https://github.com/Huanshere/VideoLingo.git
cd VideoLingo
2. 安装依赖(需要 python=3.10)
2.1 安装 Miniconda
# 以下命令逐条执行,有缩进算为同一行
# 2.1.1 下载与自动安装
wget https://repo.anaconda.com/miniconda/Miniconda3-latest-Linux-x86_64.sh
bash Miniconda3-latest-Linux-x86_64.sh
     #Proceed with initialization? [yes|no] >>> 默认no,但写yes

# 2.1.2 验证版本
conda --version # 验证版本号

# 2.1.2 接受服务条款
conda tos accept --override-channels \
  --channel https://repo.anaconda.com/pkgs/main \
  --channel https://repo.anaconda.com/pkgs/r
2.2 安装系统级依赖
# 更新索引
apt-get update

# 一次性把 PyAV 官方文档列出的依赖全装上
apt-get install -y \
    pkg-config \
    libavformat-dev \
    libavcodec-dev \
    libavdevice-dev \
    libavutil-dev \
    libswscale-dev \
    libswresample-dev \
    libavfilter-dev

pkg-config --modversion libavformat
# 正常会打印版本号,例如 58.76.100
2.3 安装VideoLingo
conda create -n videolingo python=3.10.0 -y #创建隔离环境
conda activate videolingo #激活环境 (停用环境:conda deactivate)
cd VideoLingo # 进入VL根目录
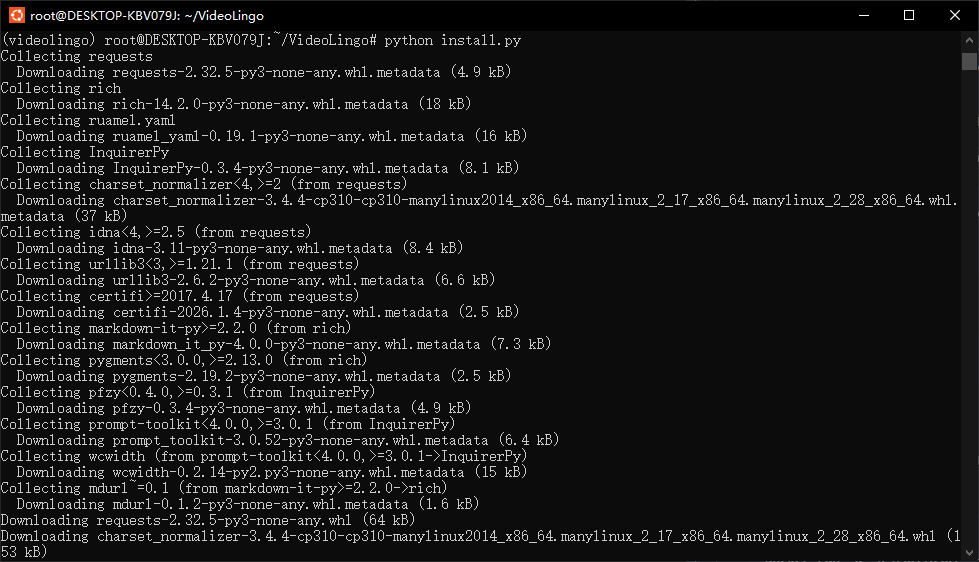
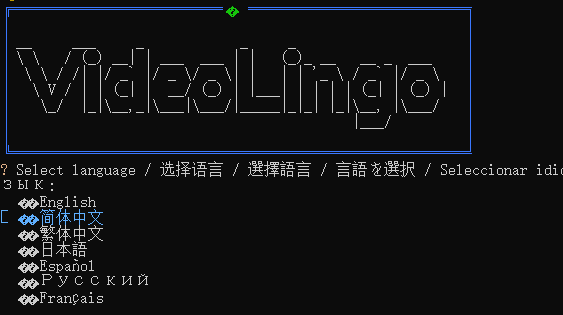
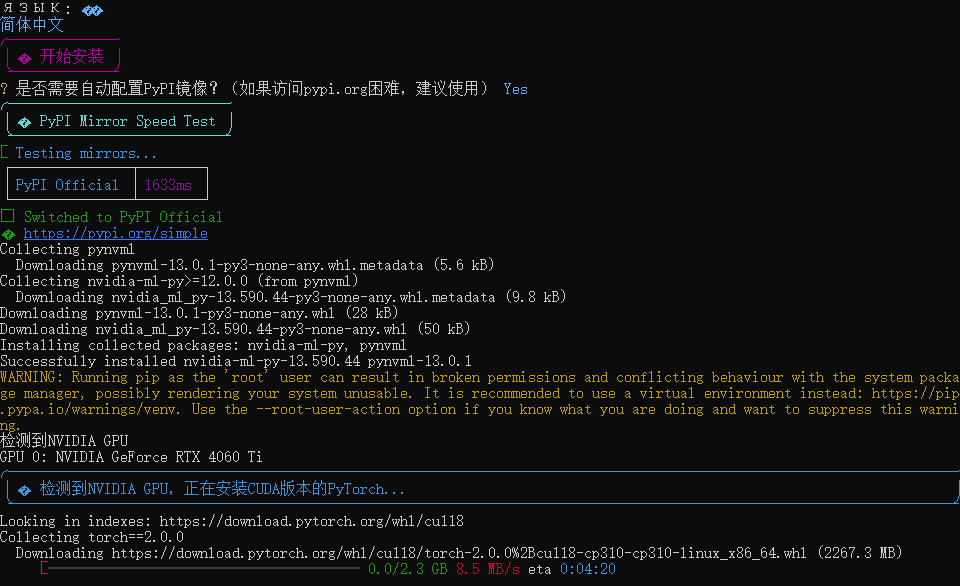
python install.py #运行依赖安装清单
3. 启动
3.1 启动命令
conda activate videolingo
cd VideoLingo
streamlit run st.py --server.headless true
# --server.headless true 这个命令的作用(针对WSL2环境):会告诉 Streamlit 以“无头模式”运行。这样它就不调用 w3m 浏览器,也就不会卡死了。

# 默认无头模式启动
mkdir -p .streamlit && echo '[server]\nheadless = true' > .streamlit/config.toml
# mkdir -p .streamlit:在当前文件夹下创建一个叫 .streamlit 的隐藏文件夹。
# echo ... > ...:在这个文件夹里写了一行配置,告诉 Streamlit:“以后启动时,默认就用无头模式,别开浏览器”。
3.2 修复Youtube视频报错问题:细则
9. 版本回退问题
# videolingo 3.0.0 强制要求 streamlit==1.38.0,但你升级到了1.52.2,导致依赖冲突,未来运行时可能闪退或功能异常。
pip install streamlit==1.38.0